A Step-by-Step Guide to Measuring Windows Correctly: How to Avoid Custom Curtains That Are Too Short or Puddle on the Floor

Apr 01 2026
Custom curtains can completely transform a room. They soften lighting, improve privacy, enhance insulation, and visually elevate interior design in ways few décor elements can match. Yet despite investing time and money into selecting fabrics, colors, and styles, many homeowners encounter a frustrating outcome after installation:
The curtains are just slightly too short — leaving an awkward gap above the floor.
Or worse, they extend too far and bunch heavily on the ground, creating an unintended and messy appearance.
In nearly every case, the problem is not manufacturing error or fabric shrinkage. The issue begins much earlier — during measurement.
Accurate measuring is the foundation of successful custom curtains. A difference of even one inch can dramatically change how curtains look and function. This guide walks you step by step through professional measuring techniques used by interior designers, helping you avoid common mistakes and achieve a polished, intentional result.
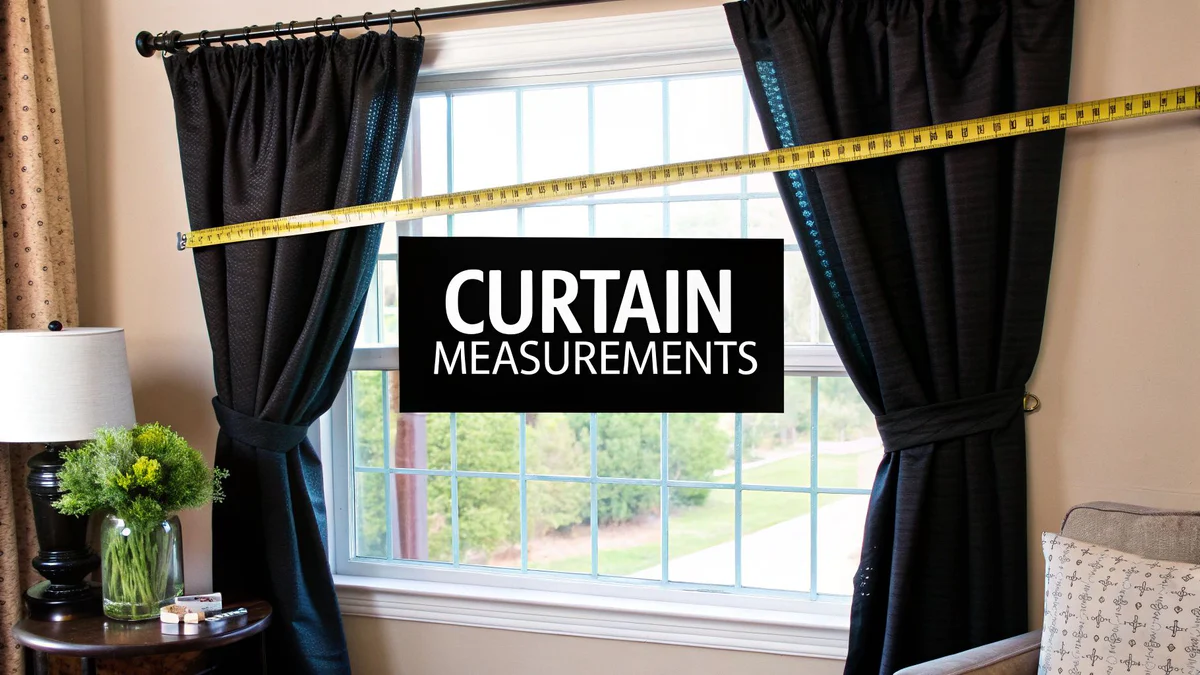
Why Curtain Measurement Matters More Than Fabric Choice
Many people focus heavily on selecting materials or patterns, assuming measurement is a simple preliminary step. In reality, measurement determines:
- Visual proportions of the room
- Perceived ceiling height
- Light control effectiveness
- Curtain movement and drape
- Overall design balance
Even luxury fabrics cannot compensate for incorrect sizing.
Professional designers often say: measurement creates elegance; fabric completes it.
Understanding the Three Critical Dimensions
Before measuring, it’s important to understand the three dimensions that define curtain sizing:
- Width – how wide the curtains span across the window.
- Height (Drop Length) – how far curtains extend vertically.
- Mounting Position – where hardware sits relative to the window.
Mistakes usually happen because people measure only the glass area instead of the full visual frame.
Tools You’ll Need
Professional results require accurate tools:
- Metal tape measure (not fabric tape)
- Pencil and notebook
- Step ladder
- Level tool
- Helper (optional but useful)
Avoid estimating or measuring alone from awkward angles.
Step 1: Decide Curtain Style Before Measuring
Measurement depends on styling choice. Determine your desired look first.
Floor Kiss
Curtains lightly touch the floor for a clean, tailored appearance.
Float
Curtains hover about ½ inch above the floor — ideal for high-traffic spaces.
Break
Fabric gently bends at the floor, adding softness.
Puddle
Extra length pools on the ground for dramatic effect.
Each style requires different length calculations.
Step 2: Determine Rod Placement Height
One of the most common mistakes is mounting the curtain rod directly above the window frame.
Designers typically install rods:
- 4–8 inches above the frame, or
- Halfway between window top and ceiling, or
- Just below ceiling level for height illusion
Higher placement makes ceilings appear taller and rooms feel larger.
Measure from the planned rod position, not the window frame.
Step 3: Measure Curtain Width Correctly
Measure the Rod, Not the Window
Curtains should extend beyond the window edges to allow full opening.
Standard extension:
- 8–12 inches beyond each side of the window.
This prevents blocked light and creates visual balance.
Calculate Fabric Fullness
Curtains require extra width for proper folds.
General guidelines:
- Light fabrics: 2× rod width
- Medium fabrics: 2–2.5× rod width
- Heavy fabrics: 1.5–2× rod width
Example:
Rod width = 80 inches
Recommended curtain width = 160–200 inches total fabric.
Without fullness, curtains appear flat and unfinished.
Step 4: Measure Curtain Length (The Most Critical Step)
This is where most errors occur.
Always measure from:
Top of rod (or ring position) → final desired endpoint
Never measure from the window frame.
For Floor Kiss Style
Measure to floor, then subtract about ¼–½ inch.
This prevents dragging caused by uneven flooring.
For Floating Curtains
Measure to floor minus ½–1 inch.
Ideal for homes with pets or robotic vacuums.
For Break Style
Add 1–2 inches beyond floor measurement.
Creates a relaxed designer look.
For Puddle Style
Add 6–10 inches extra length.
Works best with luxurious fabrics like velvet or linen blends.
Step 5: Account for Hardware Type
Different hanging systems change measurement starting points.
Rod Pocket
Measure from rod top.
Grommet Curtains
Measure from inside top edge of grommet.
Ring Clips
Measure from bottom of ring, not rod.
Pleated Drapes
Measure from hook insertion point.
Ignoring hardware offsets is a major reason curtains end up short.
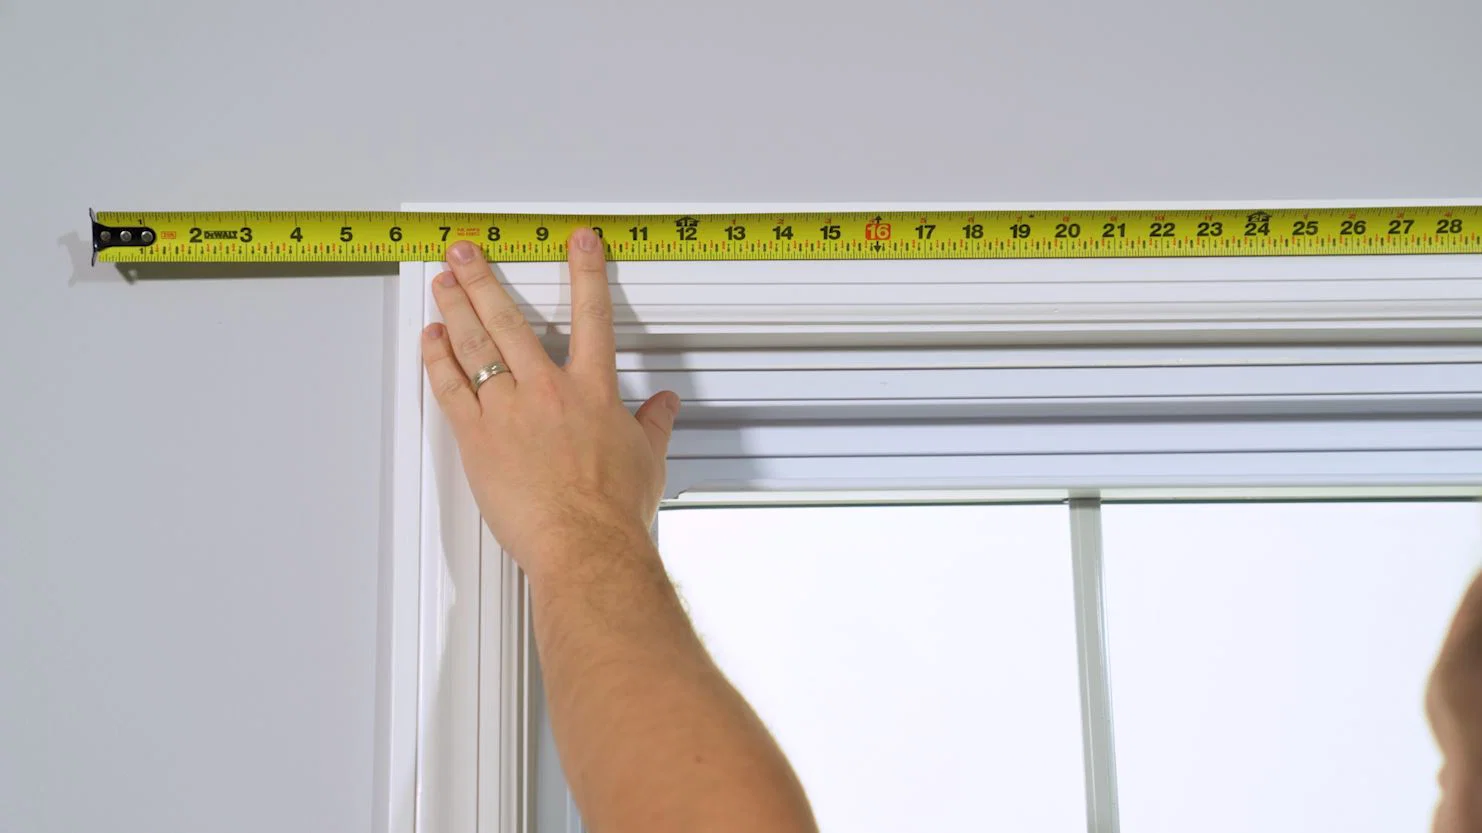
Step 6: Measure Multiple Points
Floors and ceilings are rarely perfectly level.
Measure height in three places:
- Left side
- Center
- Right side
Use the longest measurement unless intentionally floating curtains.
This prevents accidental short panels.
Step 7: Consider Floor Type and Future Changes
Carpet compression and renovations affect curtain length.
Factors to consider:
- Thick carpets may settle over time.
- Future flooring upgrades could shorten perceived length.
- Area rugs alter visual floor height.
When unsure, slightly longer curtains are safer than shorter ones.
Step 8: Record Measurements Clearly
Write measurements using consistent labeling:
- Width: rod end to rod end
- Length: rod position to floor
- Style preference noted
Avoid relying on memory or phone photos alone.
Common Measuring Mistakes (and How to Avoid Them)
Measuring Only the Glass Area
Results in narrow curtains that block light when opened.
Forgetting Fullness Allowance
Produces flat, curtain-like sheets rather than elegant drapes.
Ignoring Hardware Offset
Leads to unexpected short panels.
Measuring After Installing the Rod Incorrectly
Always plan placement before measuring fabric.
Professional Designer Tricks
Trick 1: Go Higher Than You Think
Mounting closer to the ceiling visually enlarges rooms.
Trick 2: Go Wider Than the Window
Extra width creates a luxurious appearance.
Trick 3: Symmetry Matters More Than Precision
Visual balance often outweighs strict architectural alignment.
Measuring for Different Window Types
Standard Windows
Follow basic width and height method.
Bay Windows
Measure each section separately and consider flexible rods.
Sliding Doors
Allow extra stacking space so curtains clear the opening fully.
Corner Windows
Plan overlap zones to avoid light gaps.
Fabric Behavior and Its Impact on Measurement
Different materials hang differently.
- Linen stretches slightly over time.
- Cotton may shrink if washed.
- Velvet appears shorter due to pile direction.
- Sheers elongate visually when backlit.
Add small tolerance adjustments depending on fabric choice.
Why Curtains Sometimes Arrive “Wrong” Even When Measurements Seem Correct
Often the issue lies in misunderstanding measurement reference points.
Manufacturers follow exact provided dimensions. If measurements were taken from the wrong location, the finished product will technically be correct but visually disappointing.
Precision during measuring prevents this mismatch.
Double-Checking Before Ordering
Before placing a custom order:
- Re-measure everything.
- Confirm hardware style.
- Verify measurement units.
- Review style preference.
- Ask another person to confirm readings.
Two measurements dramatically reduce risk.
Installation Day Checklist
After curtains arrive:
- Install rod securely first.
- Hang one panel to test length.
- Check appearance in natural light.
- Adjust rod height if necessary before final installation.
Small adjustments early prevent permanent dissatisfaction.
Fixes for Common Length Problems
Curtains Too Short
Possible solutions:
- Lower rod position slightly.
- Add decorative trim.
- Attach fabric extension panels.
Curtains Too Long
Options include:
- Professional hemming.
- Adjustable hemming tape.
- Intentional puddle styling.
The Psychological Effect of Proper Curtain Length
Correctly measured curtains influence how a space feels:
- Taller perception of ceilings
- Greater visual harmony
- Improved light flow
- Cleaner architectural lines
These subtle effects significantly impact comfort and aesthetics.
Building Confidence in Custom Orders
Many homeowners avoid custom curtains because measuring feels intimidating.
In reality, the process becomes simple once broken into logical steps:
Plan → Measure → Verify → Order.
Accuracy comes from method, not experience.
Frequently Asked Questions
Should curtains touch the floor?
Most designers recommend either touching lightly or floating slightly above.
What if my floor isn’t level?
Use the longest measurement for consistency.
Are longer curtains safer than shorter ones?
Yes. Length can be adjusted; missing fabric cannot.
How precise should measurements be?
Measure to the nearest ⅛ inch whenever possible.
Final Thoughts: Measure Once Carefully, Enjoy for Years
Custom curtains are one of the few home décor investments that combine functionality and artistry. When measured correctly, they frame views beautifully, enhance natural light, and elevate the entire atmosphere of a room.
Nearly all curtain sizing problems trace back to a single moment — the measuring stage.
By understanding rod placement, fullness calculations, hardware offsets, and length styles, you eliminate guesswork and gain full control over the final result.
The difference between curtains that look professionally designed and ones that feel slightly off often comes down to just an inch or two.
Take the time to measure thoughtfully, verify carefully, and plan intentionally.
When done right, your curtains won’t be too short, won’t pile awkwardly on the floor, and won’t require frustrating adjustments.
Instead, they will hang exactly as imagined — balanced, elegant, and perfectly suited to your space.
And that precision begins not with fabric or color, but with a tape measure used the right way.
Related Products