Is a Garment Steamer the Ultimate Partner for Your Custom Curtains? The "Pro-Touch" Guide to Flawless Drapes

Mar 12 2026
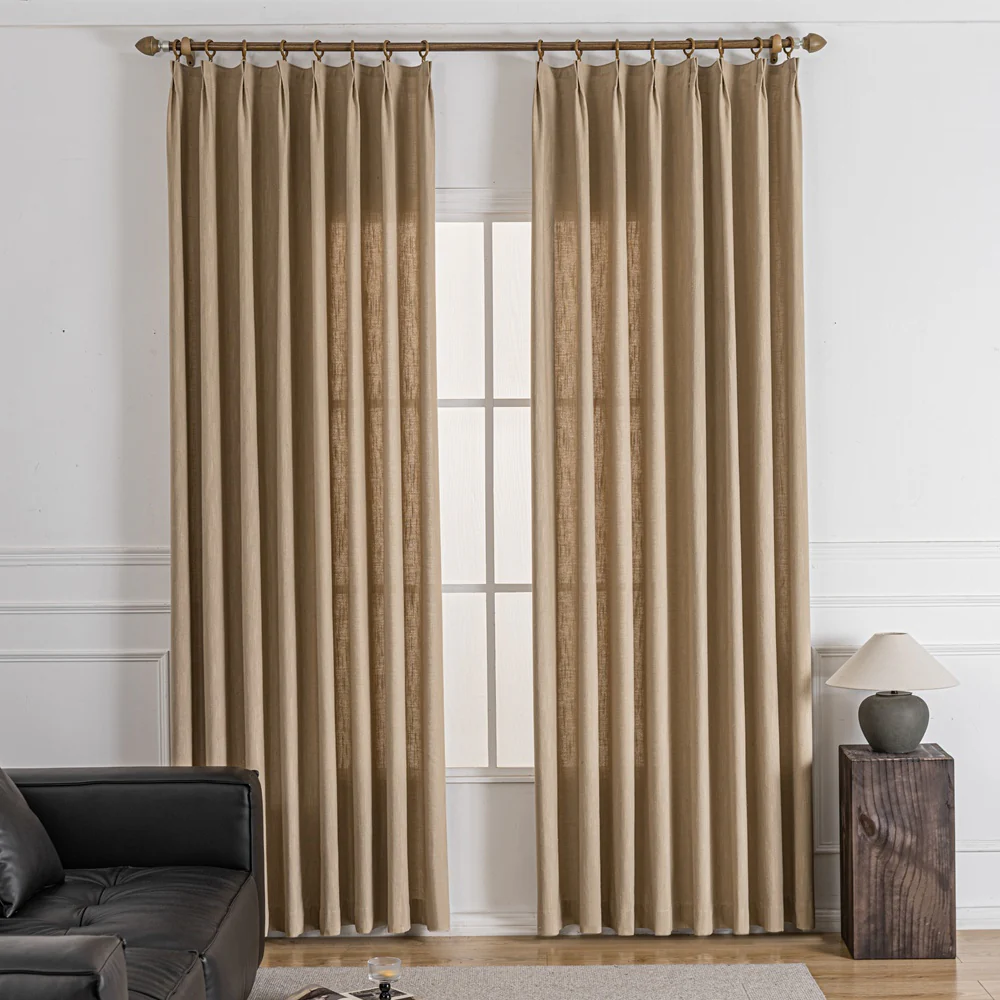
You’ve finally hung them. Those heavy, floor-to-ceiling custom drapes that cost a small fortune and took six weeks to arrive. You pull them out of the box, hook them onto the rings, step back to admire your work, and... wrinkles. Everywhere.
The fold lines from the shipping box make your expensive linen look like a crumpled paper bag. Your first instinct is to grab the iron, but the thought of taking down 20 pounds of fabric and wrestling it onto a tiny ironing board sounds like a weekend-ruining nightmare.
Enter the Garment Steamer. In the interior design world, the steamer is the "secret weapon." But here’s the catch: if you use it wrong, you can permanently stretch your fabric, cause "water spotting," or even melt synthetic fibers. If you want that crisp, high-end "weighted" look, you need the right technique. Here is the definitive guide to mastering the art of the curtain steam.

1. The Great Debate: Steaming vs. Ironing
Why do professionals almost exclusively use steamers for window treatments?
Gravity is Your Friend: When you iron, you’re pressing fibers flat against a hard surface. When you steam a hanging curtain, gravity helps pull the fibers down as they relax, resulting in a more natural, elegant "drape."
Fiber Protection: Irons use direct, dry heat that can "scorch" or "shine" delicate fabrics like silk or acetate. Steam uses moist heat, which is significantly gentler on the structural integrity of the weave.
The "Pleat" Factor: Trying to iron around a pinch-pleat header is impossible. A steamer allows you to refresh the volume of the pleats without flattening them into submission.
2. Choosing Your Weapon: Handheld vs. Upright
Not all steamers are created equal. For curtains, the "travel steamer" you use for your t-shirts usually won't cut it.
The Upright (Professional) Steamer
If you have a house full of custom drapes, invest in a floor model with a large water tank.
The Advantage: Constant steam pressure and a long hose. You need that reach to get to the top of an 8-foot or 10-foot window.
Pro Tip: Look for a model with a "T-nozzle" (the wide metal or plastic head). This covers more surface area and prevents "streaking."
The Handheld (Portable) Steamer
Great for quick touch-ups or small cafe curtains.
The Downside: Small tanks mean you’ll be running to the sink every ten minutes. Also, many handhelds "spit" water when tilted—a disaster for silk.
3. The "Cheat Sheet" for Different Fabrics
Before you pull the trigger, you must know what you’re steaming. Check the fabric content label first.
4. The Correct "Posture": How to Steam Like a Designer
Most people just wave the steamer around like a magic wand. That’s why their curtains still look wrinkled. Follow this 4-Step Professional Protocol:
Step 1: The Distilled Water Rule
Never use tap water. Tap water contains calcium and magnesium. Over time, these minerals clog your steamer (making it spit brown gunk) and leave white crusty rings on your dark fabrics. Distilled water is non-negotiable.
Step 2: Start from the Bottom (The "Chimney Effect")
Counter-intuitive, right? But heat rises. By starting at the bottom and moving up, the rising steam pre-softens the fibers above, making the top half of the curtain much easier to smooth out.
Step 3: The "Tension & Stroke" Method
With one hand, gently pull the bottom of the curtain taut. With the other, move the steamer head in slow, vertical strokes.
The Secret: Keep the nozzle about 1 to 2 inches away from the fabric. Don't "scrub" the fabric with the steamer head unless it’s heavy linen.
Step 4: The "Setting" Phase
Once you’ve steamed a section, don't touch it. The fabric is currently warm and damp; it’s in a "plastic" state. If you bunch it up or pull it now, you’ll create new, permanent wrinkles. Let it air dry for at least 30 minutes.
5. Safety First: Avoiding the "Steam Bite"
Steam is hotter than boiling water. Every year, thousands of DIYers end up with nasty burns because they underestimated the "reach" of the vapor.
Wear a Heat-Resistant Glove: Most professional steamers come with a grey padded glove. Wear it on the hand that is holding the fabric taut.
Mind the Drip: If your steamer starts gurgling, it’s about to spit boiling water. Level the hose, let the condensation run back into the tank, and then resume.
The Ladder Trap: Be extremely careful on ladders. The weight of a full steamer tank plus a hot hose can throw off your balance.
6. When to Put the Steamer Away
Steaming isn't a cure-all. In these three scenarios, you should stop immediately:
Beaded or Sequined Trim: Steam can melt the glue or "cloud" the finish on plastic beads.
Water-Staining Fabrics: If you see a dark circle forming that doesn't disappear in 30 seconds, stop. Your fabric has a finish that isn't water-compatible.
Pleat Distortion: If your pleats are losing their "sharpness" and becoming floppy, you are over-steaming. Use less moisture.
Summary: The Final Verdict
Is the steamer a curtain's best friend? Absolutely. It’s the difference between a room that looks "just moved in" and a room that looks "professionally staged." By using distilled water, maintaining proper tension, and respecting the delicate nature of your fibers, you can keep your custom window treatments looking brand new for a decade.

Related Products