Roman Shades Won’t Raise or Lower Smoothly? Check These Two Spots for an Easy Fix

Mar 19 2026
Roman shades are loved for their timeless elegance, soft fabric folds, and ability to balance privacy with natural light. Whether installed in a modern apartment, a cozy bedroom, or a formal living space, they add warmth and refinement that few window treatments can match.
But nothing ruins the experience faster than a Roman shade that refuses to cooperate. Maybe it jerks when lifting, stops halfway, tilts unevenly, or requires excessive force to move. Many homeowners immediately assume the entire shade system is broken — or worse, that replacement is the only option.
In reality, most lifting problems come from just two key areas. By inspecting and correcting these spots, you can often restore smooth operation in minutes without professional repair or costly replacements.
This complete guide explains why Roman shades become difficult to operate, how their lifting systems work, and exactly how to diagnose and fix the issue safely and effectively.
Understanding How Roman Shades Work
Before troubleshooting, it helps to understand the mechanics behind Roman shades.
Unlike roller blinds, Roman shades use a corded lifting system that pulls fabric upward into horizontal folds. Inside the headrail, several components work together:
Lift cords
Cord drums or spools
Pulleys or guides
Locking mechanism (cord lock or clutch)
Fabric rings or carriers
When functioning properly, pulling the cord distributes tension evenly across all lift points, allowing the shade to rise smoothly and stack neatly.
When something goes wrong, friction or imbalance appears — and movement becomes uneven or stuck.
The Two Most Common Problem Areas
After years of repairs and user feedback, technicians consistently find that nearly all lifting issues originate from two locations:
The headrail lifting mechanism
The rear fabric cord routing system
Let’s examine both in detail.
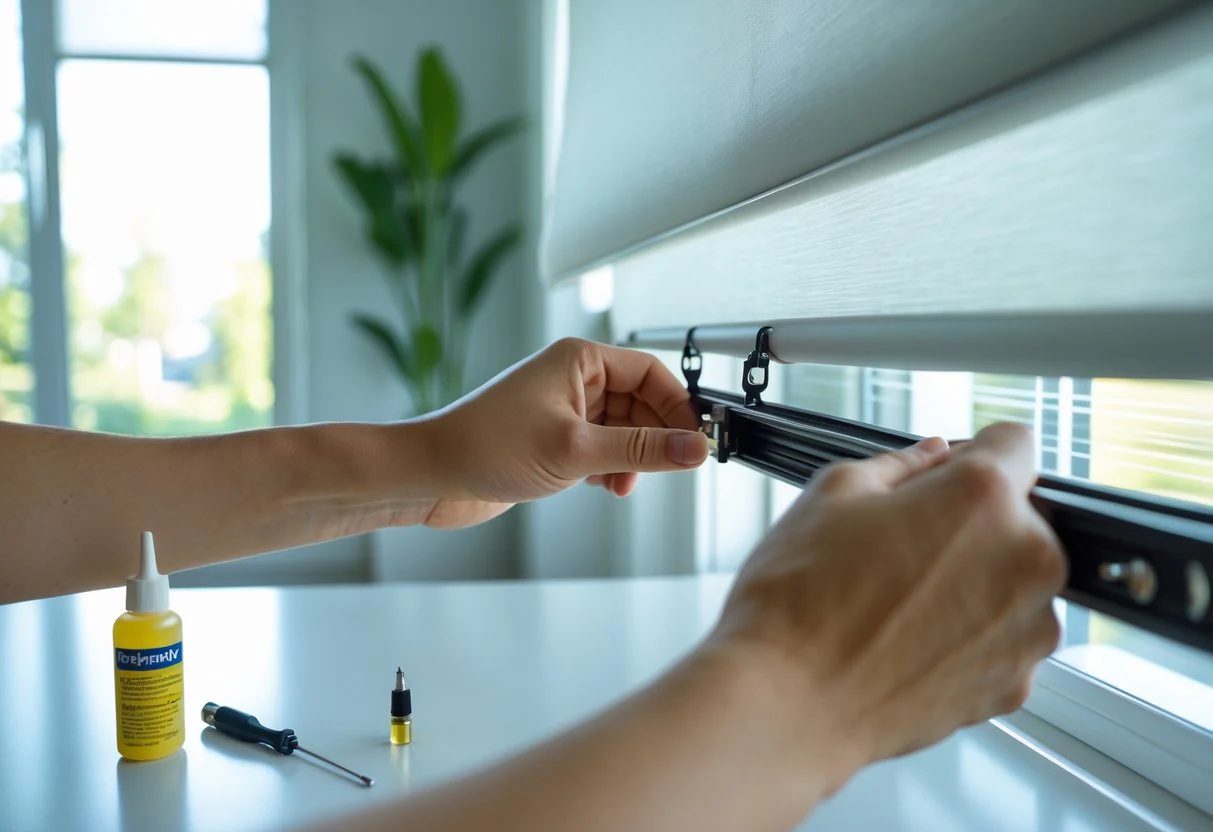
Problem Area #1: The Headrail Mechanism
The headrail is the control center of your Roman shade. It houses the internal moving parts responsible for lifting and lowering.
If your shade feels heavy, jerky, or refuses to stay in position, this is the first place to check.
Symptoms of Headrail Problems
You may notice:
Shade drops suddenly after lifting
Pull cord feels stuck or rough
Uneven lifting speed
Clicking or grinding sounds
Shade stops halfway up
Requires excessive force
These symptoms usually indicate friction or misalignment inside the rail.
Why Headrails Develop Issues
Dust and Debris Accumulation
Over time, dust enters through small gaps and settles inside moving parts. This buildup increases resistance.
Cord Misalignment
Lift cords may slip off their intended track or overlap on the drum.
Internal Wear
Plastic gears and guides slowly wear down after thousands of lifting cycles.
Improper Installation Angle
If brackets are uneven, gravity pulls components sideways, increasing friction.
Step-by-Step Headrail Inspection
Step 1: Fully Lower the Shade
Always begin with the shade completely lowered to release internal tension.
This prevents sudden movement during inspection.
Step 2: Remove the Shade from Mounting Brackets
Most Roman shades snap out or release using a small tab.
Support the fabric while removing to avoid pulling on cords.
Step 3: Open or Examine the Headrail
Depending on design:
Some rails have removable covers
Others allow visual inspection from the back
Look for:
Tangled cords
Dust buildup
Crooked spools
Obstructions
Step 4: Clean Internal Components
Use:
Compressed air
Soft brush
Dry microfiber cloth
Avoid oil-based lubricants. They attract dust and worsen problems over time.
If lubrication is necessary, use a dry silicone spray sparingly.
Step 5: Check Cord Alignment
Each cord should:
Sit straight on its spool
Not cross other cords
Move freely when pulled
Gently guide misaligned cords back into place.
Step 6: Test Before Reinstalling
Hold the rail level and pull the cord slowly.
If movement feels smooth now, the issue was internal friction.
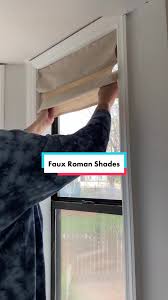
Problem Area #2: Fabric Cord Routing and Rings
If the headrail appears fine but lifting remains uneven, the second critical area is the fabric itself.
Roman shades rely on multiple vertical lift cords threaded through rings sewn onto the back of the fabric.
Even minor misalignment here causes major performance problems.
Common Fabric-Side Symptoms
One side lifts higher than the other
Shade folds unevenly
Fabric twists during lifting
Bottom bar tilts
Shade jams midway
These problems almost always relate to cord routing.
Why Cord Routing Fails
Twisted Cords
Repeated lifting can rotate cords slightly, creating friction points.
Detached Rings
Fabric rings may loosen or detach after washing or aging.
Obstructed Paths
Dust, pet hair, or debris block cord movement.
Fabric Shrinkage
Humidity or cleaning may subtly change fabric dimensions, affecting tension balance.
Step-by-Step Fabric Inspection
Step 1: Lay the Shade Flat
Place it on a clean surface with the back side facing up.
Step 2: Follow Each Cord Path
Trace cords from bottom bar to headrail.
Look for:
Knots
Twists
Snags
Ring misalignment
All cords should run vertically without crossing.
Step 3: Check Fabric Rings
Ensure each ring is:
Securely sewn
Facing straight outward
Free of debris
Loose rings cause uneven lifting tension.
Step 4: Untwist Cords
If cords appear spiraled:
Detach the bottom bar if possible.
Allow cords to hang freely.
Let gravity naturally untwist them.
This simple step fixes many lifting issues instantly.

Step 5: Realign the Bottom Bar
Confirm the bottom bar sits level and cords connect evenly.
An uneven bar creates constant imbalance during operation.
Reinstallation and Testing
After both inspection areas are complete:
Reinstall the headrail.
Slowly raise the shade halfway.
Lower it again.
Repeat several cycles.
Smooth stacking and even movement indicate success.
Preventative Maintenance Tips
Most Roman shade problems develop gradually. Regular care prevents future frustration.
Monthly Care
Dust fabric lightly using a vacuum brush attachment.
Keep cords straight when lowering.
Every 3–6 Months
Inspect headrail for dust buildup.
Test smooth operation.
Yearly Maintenance
Remove shade for full inspection.
Clean cord paths and rings.
Mistakes to Avoid During Repairs
Many DIY attempts unintentionally worsen the problem.
Avoid:
Pulling cords forcefully
Cutting cords without measurements
Using heavy lubricants
Washing shades without checking manufacturer guidance
Adjusting only one side’s cord length
Balanced tension is essential.
When the Problem Isn’t Mechanical
Sometimes the issue lies outside the shade itself.
Window Frame Interference
If mounted too tightly, fabric rubs against trim.
Humidity Expansion
Fabric absorbs moisture and temporarily stiffens.
Incorrect Mounting Width
Brackets installed slightly inward can pinch movement.
Check surrounding clearance if problems persist.
Signs You May Need Replacement Parts
While most issues are fixable, replacement may be needed if you notice:
Frayed lift cords
Broken pulleys
Cracked clutch mechanisms
Severely warped headrails
Fortunately, individual components are often replaceable without buying a new shade.
Professional Repair vs DIY
DIY repairs work well for cleaning and alignment.
Consider professional service if:
Shade is motorized
Cord system is fully tangled
Fabric is delicate or expensive
Multiple components are damaged
Professional adjustments typically take less than an hour.
Why Roman Shades Require Balanced Tension
Roman shades differ from other window coverings because lifting force distributes across multiple vertical points.
If even one cord experiences added resistance:
The shade tilts
Folding becomes uneven
Wear accelerates elsewhere
Maintaining equal tension ensures long-term reliability.
Extending the Lifespan of Roman Shades
High-quality Roman shades can last 7–12 years or more with proper care.
Best practices include:
Lift evenly using steady motion
Avoid sudden releases
Keep pets away from cords
Protect from excessive moisture
Perform periodic inspections
Small maintenance habits dramatically reduce repairs.
Quick Troubleshooting Checklist
If your Roman shade won’t move smoothly, check:
✔ Are cords aligned inside the headrail?
✔ Is dust blocking internal components?
✔ Are fabric rings secure?
✔ Are cords twisted or crossed?
✔ Is the bottom bar level?
✔ Are mounting brackets straight?
In most cases, correcting just one of these restores normal operation.
The Hidden Benefit of Proper Adjustment
When Roman shades operate smoothly, you’ll notice more than convenience:
Fabric folds look sharper
Movement becomes quieter
Hardware experiences less stress
Daily use feels effortless
The shade looks professionally installed again
A small adjustment can dramatically improve the overall appearance of your room.
Final Thoughts: Simple Checks, Big Results
A Roman shade that sticks or lifts unevenly can feel like a major household annoyance, but the solution is often surprisingly simple.
By focusing on two critical areas — the headrail mechanism and the fabric cord routing system — you can diagnose and fix most problems quickly and safely. Instead of replacing an otherwise beautiful window treatment, a careful inspection and minor adjustment can restore smooth, elegant operation.
Roman shades are designed for longevity. With occasional maintenance and a basic understanding of how they function, you can keep them operating flawlessly for years to come.
So before assuming your shade is broken, take a closer look at those two key locations. A few minutes of attention may be all it takes to bring effortless movement back to your windows — and peace of mind back to your home.
Related Products