Spring Window Deep Cleaning: A Professional’s Checklist for Refreshing Custom Curtains

Apr 09 2026
Spring arrives with longer days, warmer sunlight, and a renewed desire to open windows and let fresh air flow through the home. Yet when sunlight finally pours in after months of winter gloom, it reveals something many homeowners overlook: dusty curtains, dull fabrics, lingering odors, and window treatments that no longer look as vibrant as they once did.
Custom curtains are more than decorative accents. They influence indoor air quality, lighting comfort, insulation, and the overall atmosphere of a room. Unlike ready-made drapes, custom window treatments are often crafted from premium fabrics and tailored precisely to fit a space—making proper care essential.
Professional interior stylists and cleaning specialists agree: spring is the ideal season for a complete window refresh. This guide walks you through a comprehensive, professional-level checklist designed to restore beauty, extend lifespan, and maintain the elegance of custom curtains.

Why Spring Is the Perfect Time for Curtain Maintenance
Winter tends to trap indoor pollutants. Closed windows, heating systems, and reduced ventilation allow dust, allergens, and airborne particles to accumulate within fabric fibers. Curtains act like filters, quietly collecting:
- Dust and pet dander
- Cooking oils and airborne grease
- Smoke residue
- Pollen carried indoors
- Moisture-related odors
By spring, these contaminants can weigh down fabrics and dull colors.
Professionals often align curtain maintenance with seasonal transitions because spring offers ideal conditions:
- Moderate temperatures help fabrics dry evenly.
- Increased sunlight exposes hidden stains.
- Open windows improve ventilation during cleaning.
- Allergy season makes fabric hygiene especially important.
A thorough refresh not only improves appearance but also supports healthier indoor living.
Step 1: Evaluate Your Custom Curtains Like a Professional
Before removing anything, experts recommend performing a full assessment.
Inspect Fabric Condition
Stand back and view curtains in natural daylight. Look for:
- Uneven fading from sun exposure
- Dust buildup near hems
- Discoloration along folds
- Weak seams or loose stitching
Pay special attention to the leading edges—the areas touched most frequently.
Identify Fabric Type
Custom curtains are made from a wide range of materials, each requiring different care:
- Linen: breathable but wrinkle-prone
- Velvet: luxurious yet sensitive to pressure
- Silk: delicate and often dry-clean only
- Cotton blends: durable but shrink-sensitive
- Polyester performance fabrics: easier maintenance
Knowing the fabric determines the safest cleaning approach.
Check Hardware and Structure
Professionals never clean curtains without inspecting:
- Curtain rods and brackets
- Rings and hooks
- Pleats and headers
- Motorized track systems
A spring refresh is the perfect time to ensure the entire window system functions smoothly.
Step 2: Remove Curtains the Right Way
Improper removal is one of the leading causes of curtain damage.
Professional Removal Tips
- Take photos before removal to remember pleat arrangement.
- Remove panels gently to avoid pulling seams.
- Label panels if multiple windows share similar designs.
- Fold rather than bunch fabric to prevent deep creases.
For extra-long or lined curtains, two people should handle removal to avoid stretching the fabric.
Step 3: Dust Removal — The Most Overlooked Step
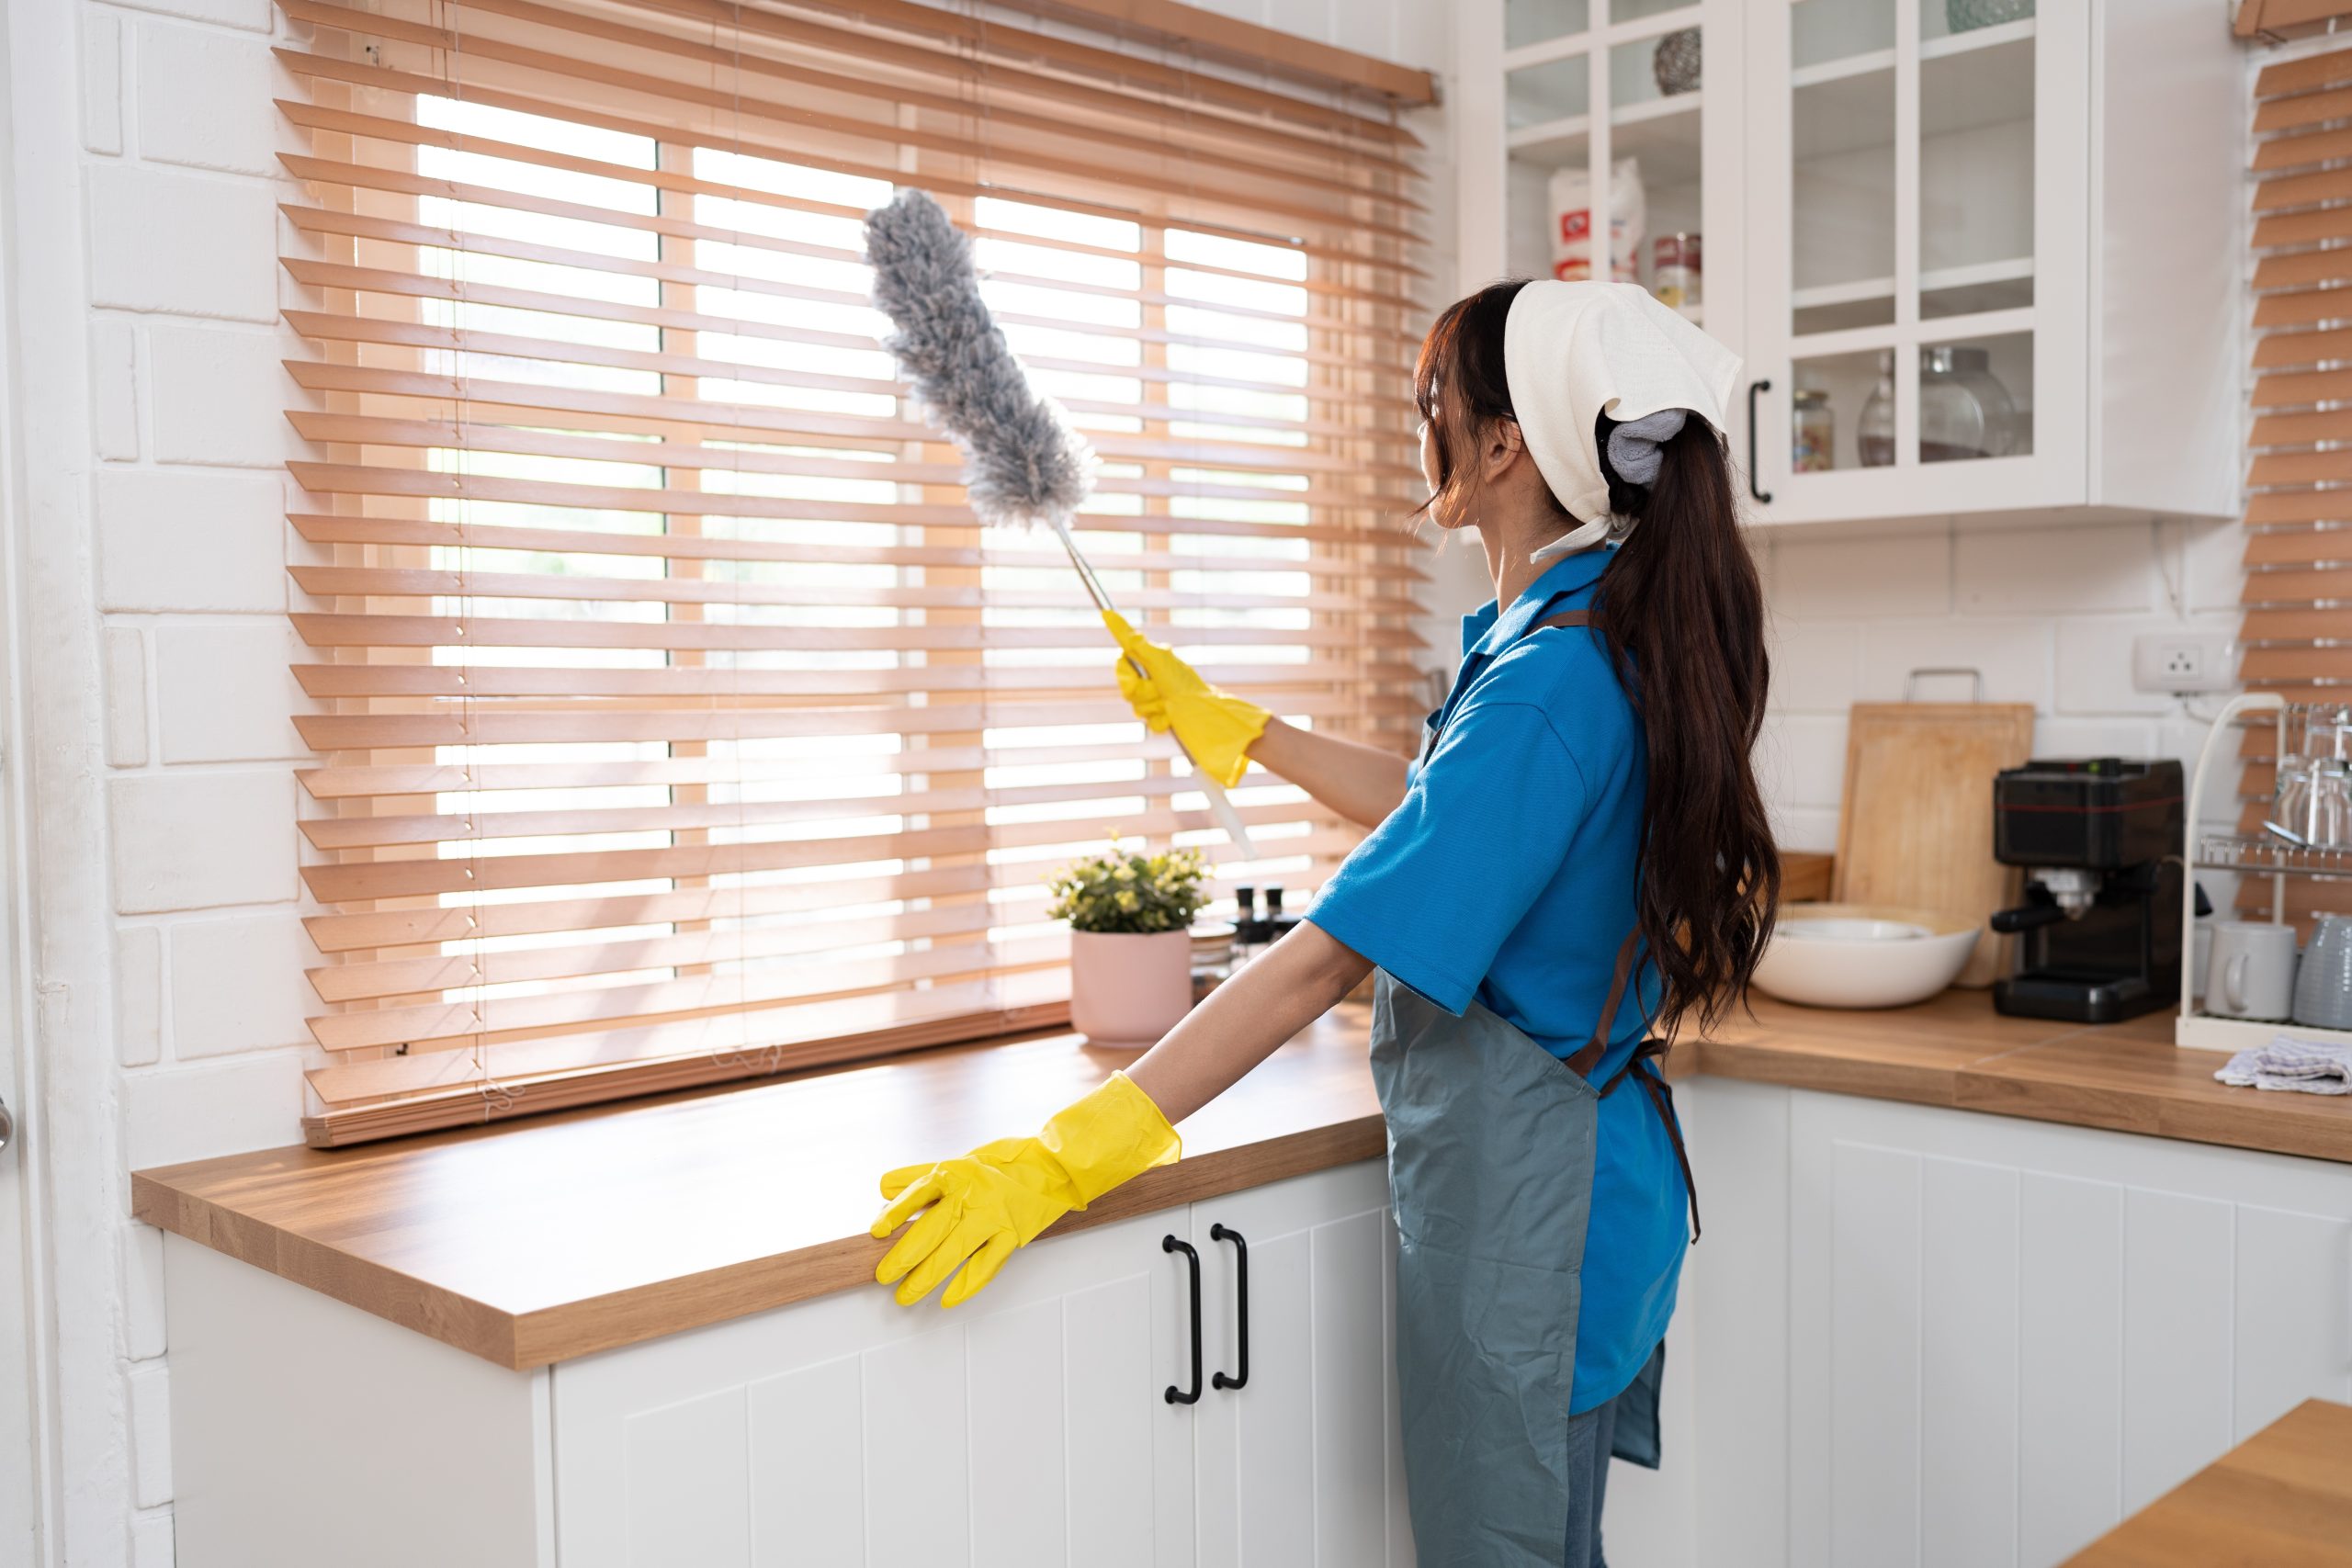
Many homeowners skip pre-cleaning dust removal, but professionals consider it essential.
Washing dusty curtains can turn loose debris into embedded grime.
Methods Used by Professionals
Vacuum Cleaning
Use a vacuum with a soft brush attachment:
- Start from the top and work downward.
- Follow the fabric grain.
- Use low suction for delicate materials.
Outdoor Air Shake
On dry days, gently shake curtains outdoors to release trapped particles.
Fabric Brushing
Natural fiber curtains benefit from soft garment brushes that loosen debris without damaging threads.
This step alone can dramatically improve appearance before any washing begins.
Step 4: Spot Treat Stains Before Washing
Professional cleaners never rely on full washing alone.
Common Curtain Stains
- Window condensation marks
- Fingerprints near edges
- Pet contact areas
- Food or beverage splashes
- Mold or mildew spots
Safe Spot-Cleaning Approach
- Test cleaning solution on a hidden area.
- Blot—never rub—the stain.
- Use minimal moisture.
- Work from outside inward to avoid spreading.
Gentle detergents or diluted vinegar solutions are commonly used for neutralizing odors and light stains.
Step 5: Choose the Correct Cleaning Method
The biggest difference between professional results and home mistakes lies here.
Machine Washing (When Appropriate)
Suitable for many cotton or synthetic curtains.
Best practices:
- Cold water only
- Gentle cycle
- Mild detergent
- Wash panels separately
- Avoid overloading
Hand Washing
Recommended for delicate or lined fabrics.
Fill a tub with cool water and gently agitate without twisting the fabric.
Steam Cleaning
Professionals often prefer steaming because it:
- Removes wrinkles
- Eliminates odors
- Reduces bacteria
- Preserves curtain shape
Vertical steaming while curtains hang can refresh without full removal.
Dry Cleaning
Necessary for:
- Silk curtains
- Structured pleats
- Interlined drapes
- Designer fabrics
Ignoring care labels can permanently damage custom pieces.
Step 6: Proper Drying Techniques
Drying errors cause more damage than washing itself.
Avoid These Common Mistakes
- High heat drying
- Direct harsh sunlight
- Folding while damp
- Over-spinning delicate fabrics
Professional Drying Method
- Air dry partially while hanging.
- Smooth folds by hand.
- Allow natural gravity to remove wrinkles.
- Finish with light steaming if needed.
Proper drying preserves fabric drape and prevents shrinkage.
Step 7: Ironing and Steaming for a Tailored Finish
Custom curtains are designed to hang with precision.
Wrinkles undermine the tailored look.
Steaming Advantages
Professionals prefer steamers because they:
- Relax fibers naturally
- Reduce risk of scorching
- Maintain fabric softness
Always steam from top downward while curtains hang.
For heavier fabrics, steaming both sides creates a crisp, showroom-quality appearance.
Step 8: Refresh Curtain Hardware
A window refresh is incomplete without addressing hardware.
Cleaning Checklist
- Wipe rods with microfiber cloths.
- Remove grease buildup near kitchen windows.
- Tighten loose brackets.
- Lubricate moving tracks.
- Clean finials and decorative elements.
Dusty hardware can transfer grime back onto freshly cleaned curtains.
Step 9: Address Sun Damage and Fading
Spring sunlight is stronger than many homeowners expect.
Professionals recommend evaluating whether curtains need protection upgrades.
Prevention Strategies
- Add sheer inner layers.
- Use UV-filtering window film.
- Rotate curtain panels periodically.
- Install linings to protect decorative fabric.
Preventive measures extend curtain lifespan significantly.
Step 10: Odor Elimination and Fabric Freshening
Curtains absorb smells over time—from cooking to pets.
Professional Freshening Techniques
- Steam treatment
- Baking soda deodorizing (for removable panels)
- Fabric-safe sprays
- Increased airflow during drying
Avoid heavy fragrances, which mask odors rather than remove them.
Step 11: Reinstallation Like an Interior Designer
Rehanging curtains properly transforms the entire room.
Professional Hanging Tips
- Mount panels high and wide to enhance window size visually.
- Ensure equal spacing between pleats.
- Let hems lightly kiss the floor or hover slightly above.
- Adjust fullness evenly across the rod.
Small alignment adjustments dramatically improve aesthetics.
Step 12: Styling Updates for Spring
A refresh doesn’t always require replacement.
Professionals often recommend small seasonal updates:
- Tiebacks for brighter days
- Layered sheers for softness
- Lighter accessories
- Coordinated cushions or throws
Even subtle changes can make custom curtains feel brand new.
Step 13: Maintenance Schedule Professionals Follow
Experts rarely wait a full year between cleanings.
Ideal Care Timeline
Weekly
- Light dusting or vacuuming
Monthly
- Quick inspection and steaming
Seasonally
- Deep cleaning and hardware check
Annually
- Professional cleaning for delicate fabrics
Consistency prevents heavy buildup and reduces long-term wear.
Step 14: Common Mistakes Homeowners Make
Avoid these frequent errors:
- Washing without reading care labels
- Using bleach on natural fibers
- Overloading washing machines
- Ignoring linings during cleaning
- Skipping dust removal
- Drying with excessive heat
Professional results depend more on technique than effort.
Step 15: When to Call a Professional Cleaner
Some situations require expert help:
- Antique or heirloom curtains
- Water damage
- Mold contamination
- Extremely heavy drapery
- Motorized systems
- Designer fabrics without care instructions
Professional cleaning protects your investment.
Step 16: Extending the Life of Custom Curtains
High-quality custom curtains can last over a decade with proper care.
Key longevity habits include:
- Rotating exposure to sunlight
- Keeping windows sealed against moisture
- Maintaining indoor humidity balance
- Regular gentle cleaning
Think of curtain care as preservation rather than occasional cleaning.
Step 17: The Psychological Impact of Clean Windows and Curtains
Interior designers emphasize that refreshed window treatments influence mood more than most décor updates.
Clean curtains:
- Enhance natural light diffusion
- Make spaces feel larger
- Improve perceived cleanliness
- Create visual calm
Spring cleaning becomes not just maintenance but a seasonal reset for the home environment.
Step 18: Creating Your Personalized Curtain Refresh Checklist
Here is a professional-style checklist you can reuse each spring:
Spring Curtain Renewal Checklist
✔ Inspect fabric condition
✔ Photograph installation setup
✔ Remove curtains carefully
✔ Vacuum or dust thoroughly
✔ Spot clean stains
✔ Select proper washing method
✔ Air dry correctly
✔ Steam or iron gently
✔ Clean rods and hardware
✔ Reinstall evenly
✔ Adjust styling for season
✔ Schedule ongoing maintenance
Saving this checklist ensures consistency year after year.
Final Thoughts: A Fresh Start Begins at the Window
Spring cleaning often focuses on floors, closets, and kitchens, yet windows quietly shape how every room feels. Custom curtains frame sunlight, soften architecture, and bring warmth into living spaces—but only when properly maintained.
By following a professional-level refresh process, homeowners can restore elegance, improve indoor comfort, and extend the lifespan of their investment. The transformation is often immediate: brighter rooms, fresher air, smoother fabric movement, and a renewed sense of order.
As the season changes and daylight stretches longer into the evening, refreshed curtains allow homes to fully embrace spring’s energy—welcoming light, clarity, and renewal through every window.

Need Help with Your Custom Project?
Have questions about materials, sizing, or looking for a quick quote? Drop us a message and our experts will respond within 24 hours.
Chat on WhatsApp
+1 (304) 356-6765
Send us an Email
hello@incustom.com
Picked for You